Practical guide · Updated 6 May 2026
7 Considerations When Measuring and Surveying for your Balustrade System
Getting your measurements right before you order is the single most important thing you can do. This guide walks through seven key things to consider before you can move forward.

Abbie Lee
reading time
6 min
category
Guides
share
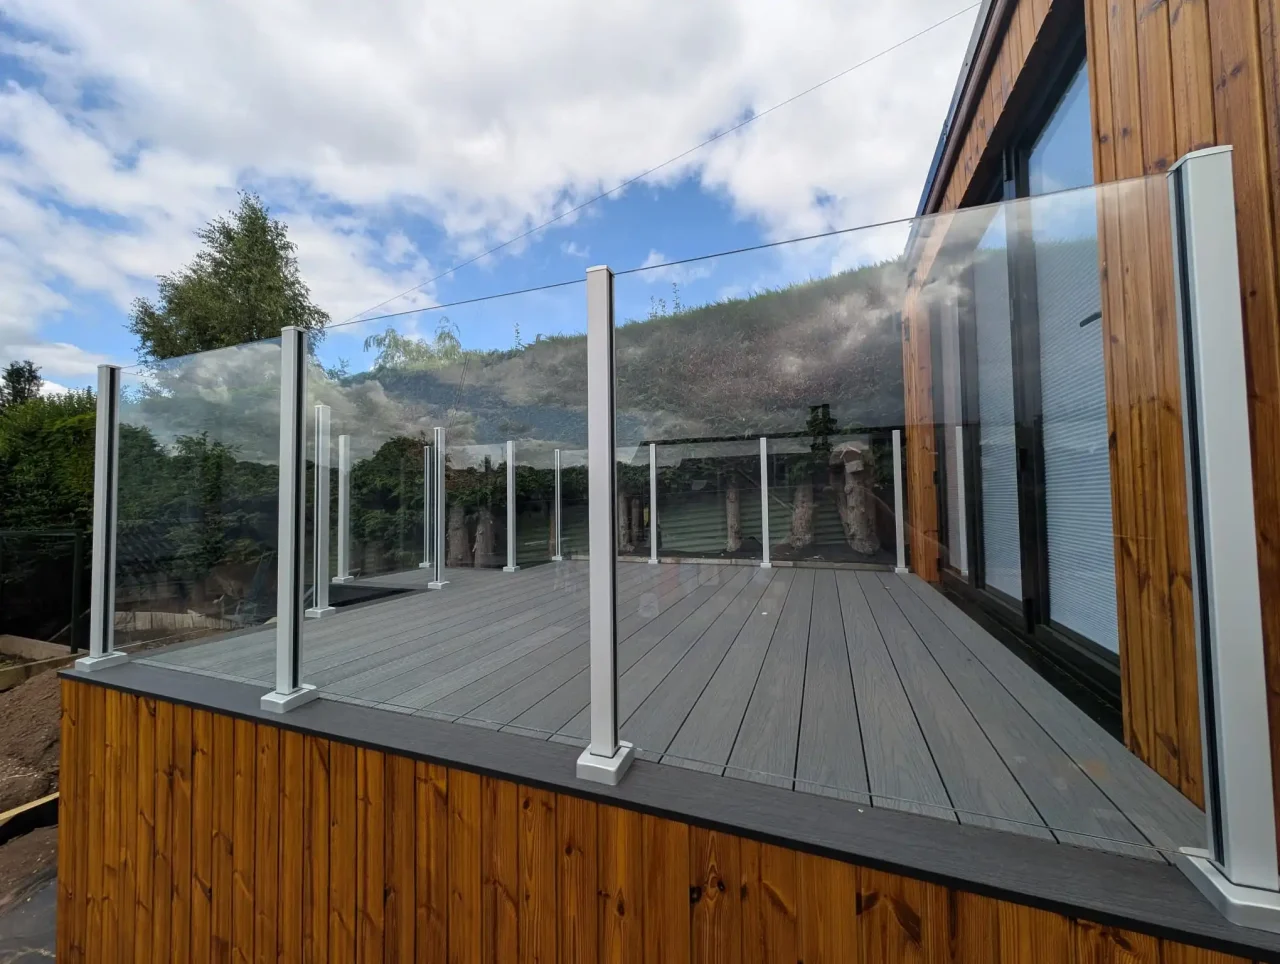
For any balustrade project it is vital to measure/survey to a high standard. Tiny differences in measurements can make a big difference on achieving a finished system that meets your expectations and is installed on time with minimal adjustment, against one that falls short on expectation, or worse, doesn’t fit or falls short on compliance.
It is not just the overall measurements that matter – for example, the substrate and construction beneath the surface will be vitally important.
Whether your balustrade is to suit a balcony, terrace, patio, staircase or raised decking area, here are seven key things to consider before you can move forward.
— 01 Measure Carefully - Check It Twice
You know the old adage, “measure twice, cut once”. Start by taking accurate measurements of every section where the balustrade will be installed. You will need to measure the overall length of each run and record changes in direction, corners and steps. You will also need to note changes in floor level. Even if these are minimal, they are critical. For example, a 3mm slope across 1m doesn’t sound like much, but that would be 30mm across a 10 metre run, and that could impact the installation significantly. It is best practice to take multiple measurements in more than one place rather than assuming floors, paving or decking are perfectly straight or square.
As with floor levels, it is important it is important not to assume a 90-degree corners are precisely 90 degrees. Existing buildings, patios and landscaping can often be off-square.
In some situations, you may be budget pricing for a larger or more complicated project, and in this circumstance a simple sketch showing each dimension can be extremely useful to get the ball rolling. However, the accurate measuring above will be required for the finished job.
A good survey should include:
- Overall dimensions of each balustrade run
- Corner angles
- Changes in level
- Steps and stair dimensions
- Position of walls, columns and other obstructions
- Any areas where dimensions vary
Remember – the more accurate the information now, the easier it is to price, design and manufacture a system that fits right first time.
— 02 Location -Where Will the Balustrade Sit
The overall size of a balcony or patio is not necessarily the same as the required balustrade dimensions.
For example, will it sit close to the outside edge of a patio, be set back from the edge, run between two walls or finish against a building? Often the way the specific system is installed will dictate how close to the edge you might install – The position can affect both appearance and installation.
You should also consider whether the system will be top fixed, where it is fixed down onto the surface, or side fixed, where it is fixed to the face of the structure.
Where the balustrade sits can also affect usable floor space, particularly on smaller balconies and terraces.
— Quick reference
Measurement
What to measure
Height
From top of baserail to underside of handrail
Length
Horizontal distance along the run of the stair
Angle
The pitch of the stair, measured with a digital angle finder
Width
Clear width between newel posts or fixing points
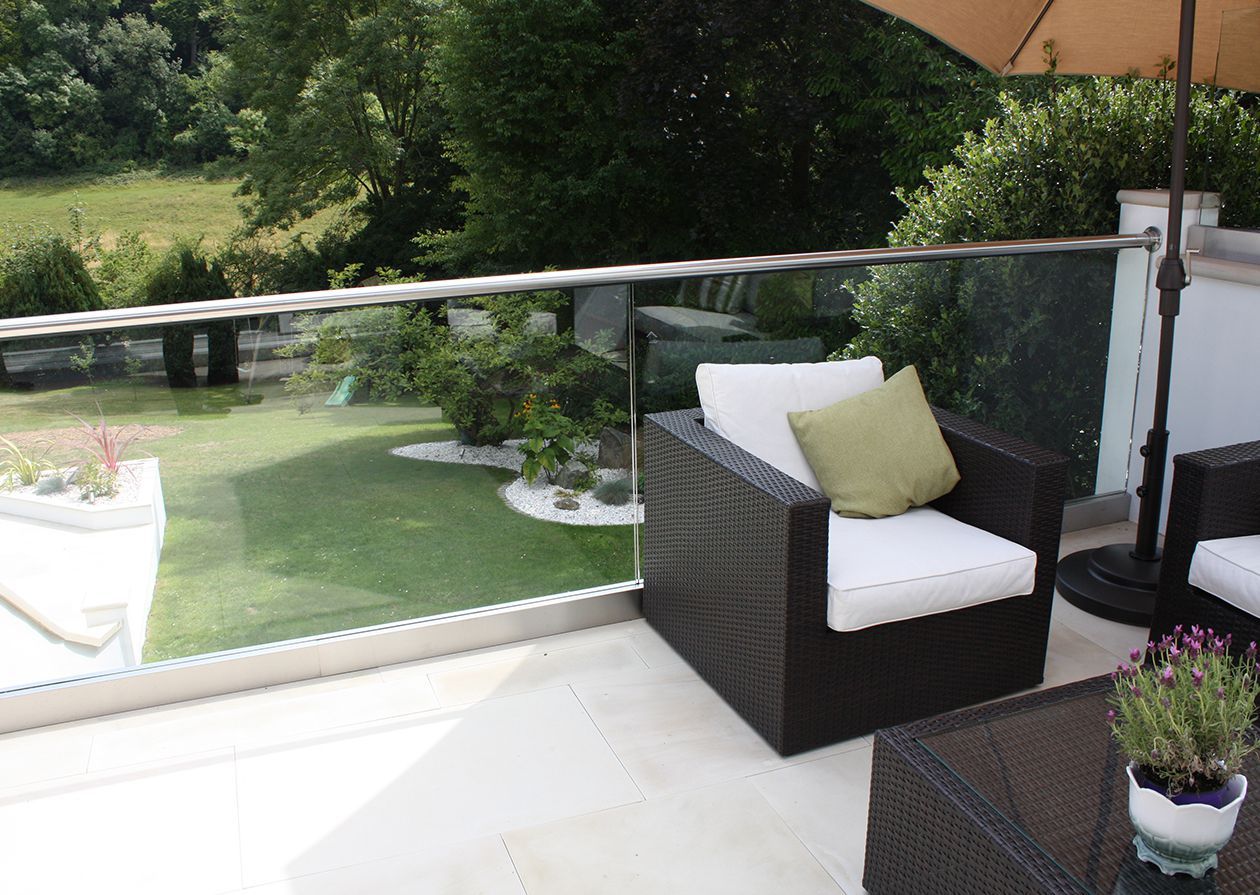
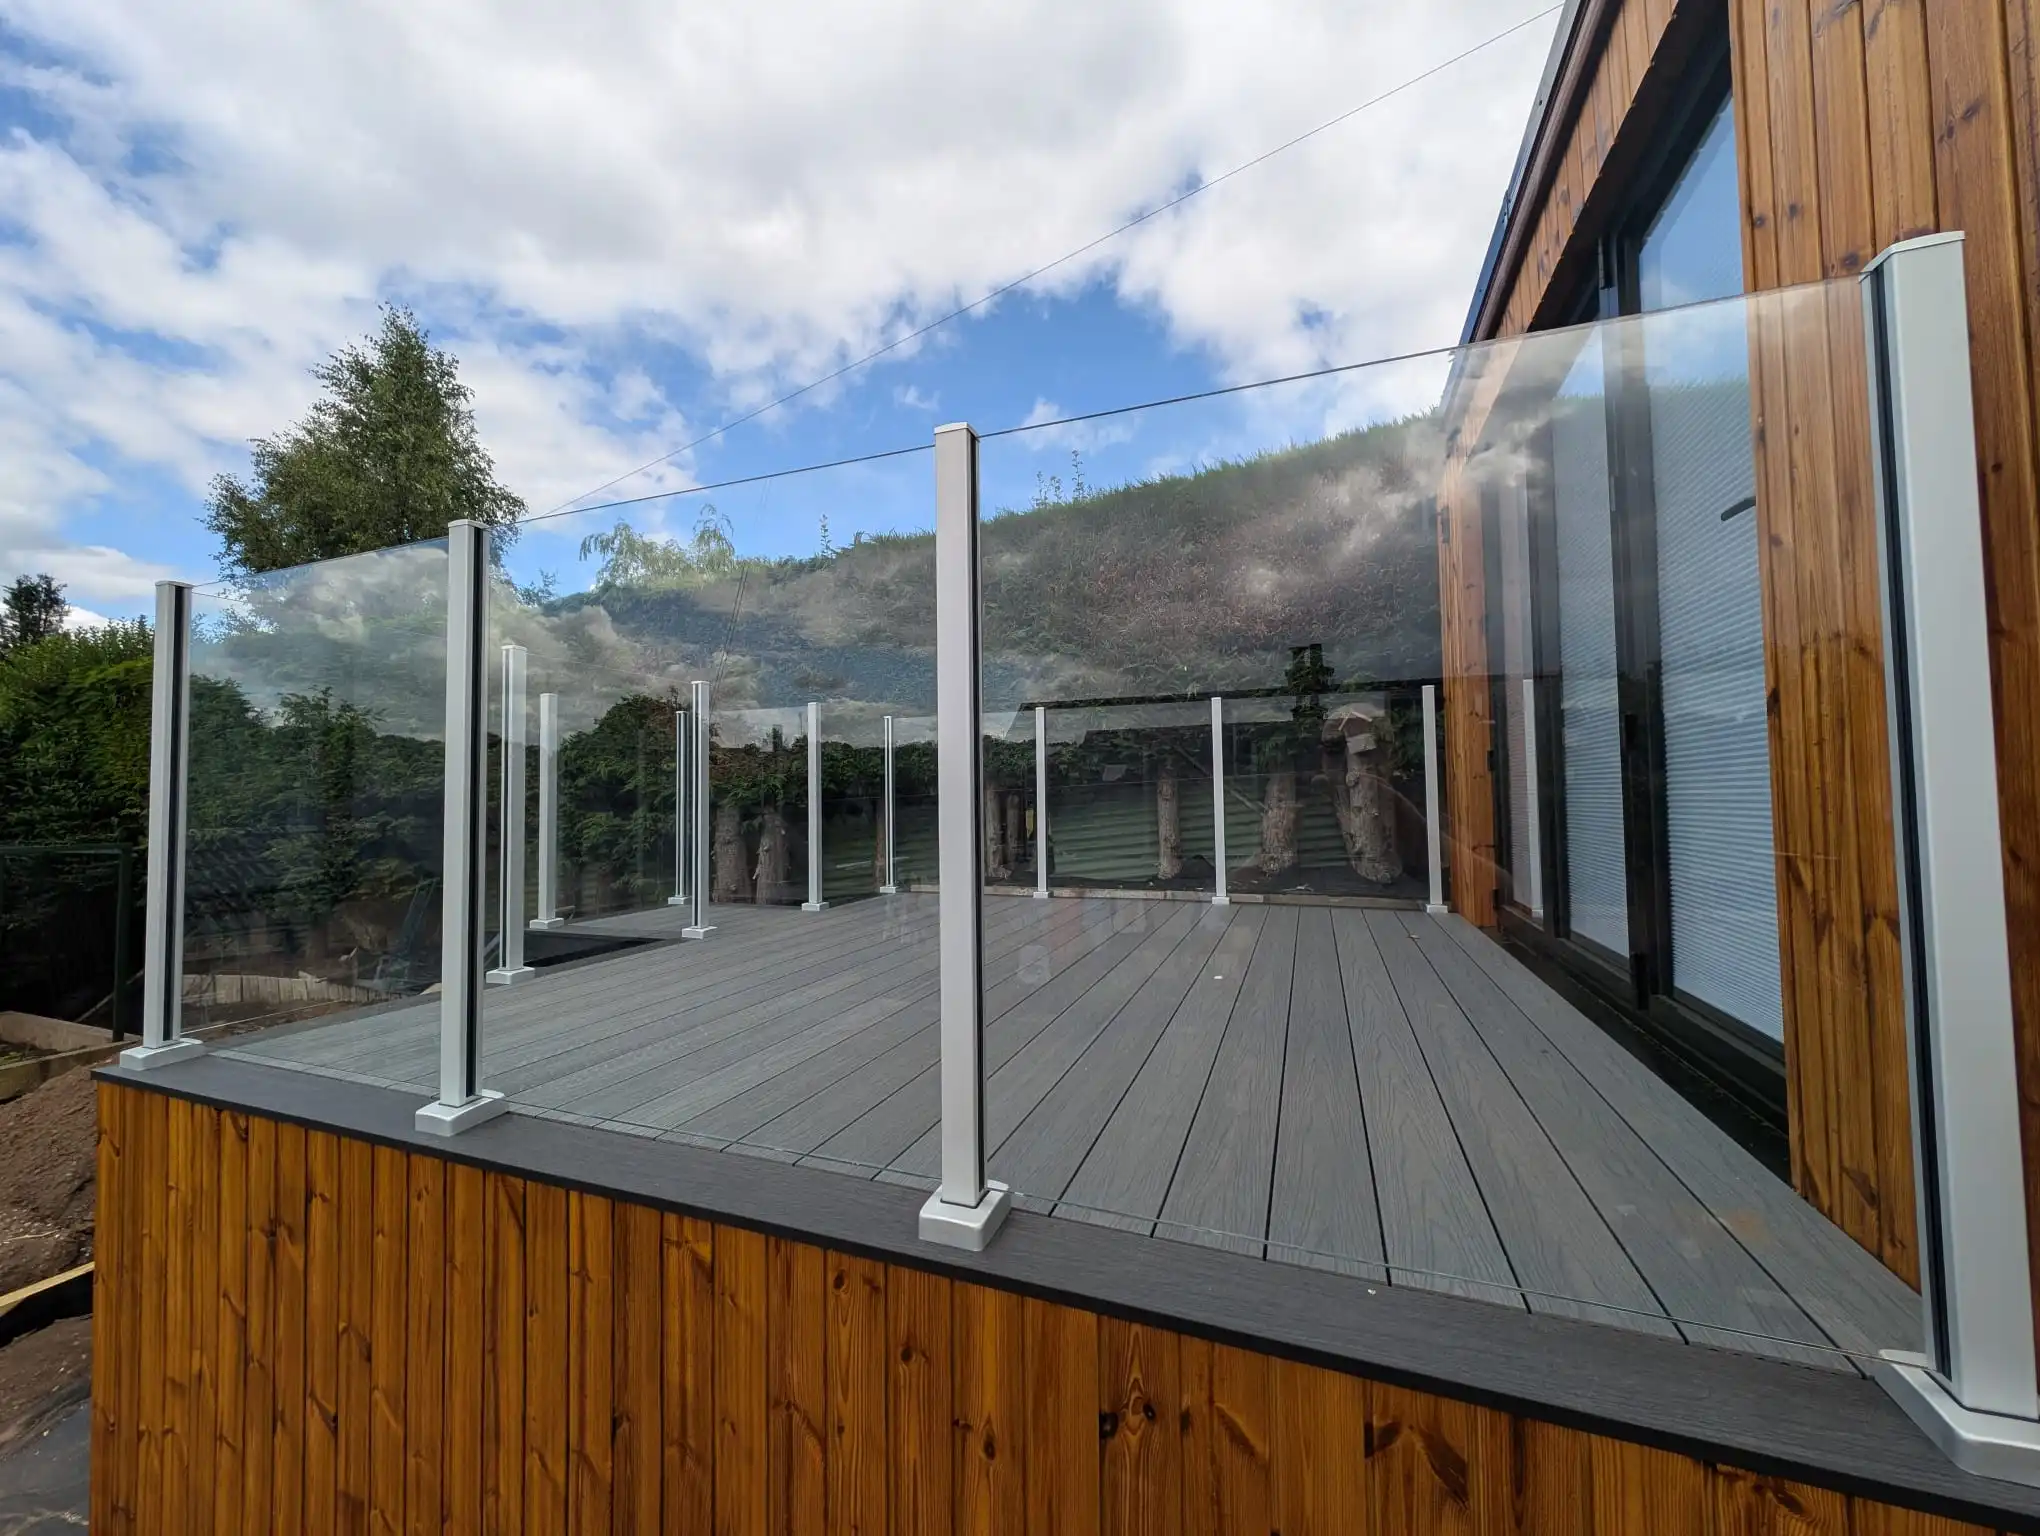
Fig 1 Glass Roof Terrace
— 03 Find Out What You Are Fixing Into - the substrate
This is one of the most important parts of the survey.
A balustrade system will often be tested to performance against a certain substrate at the test house, but on each installation will only as secure as the structure it is fixed to. For example, the finished surface may be paving, tiles, decking or composite boards, but these are not necessarily the structural material into which the balustrade will be anchored.
So you need to fully understand what is underneath the finished surface.
This might include:
- Reinforced concrete
- Concrete blocks
- Structural steel
- Timber joists
- Brickwork
- Raised paving systems
- Timber or composite decking
For example, fixing a balustrade through a paving slab is very different from fixing directly into concrete.
It is also important to assess the condition of the substrate. Not all concrete bases are of the same type and condition. Solutions to solving problems include gathering advice from fixing suppliers, or carrying out “fixing pull out tests.
It is also important to know the approximate thickness and construction build-up between the finished floor level and the structural substrate. This helps determine the appropriate fixing method and fixing length.
If you are unsure, photographs taken during construction can be extremely helpful.
— 04 Check the Drop and Required Balustrade Height
The height of the balustrade and the level of fall are important parts of the design.
UK Building Regulations K provides guidance on the minimum heights. It covers protection from falling and guarding to stairs, landings, balconies and other raised areas. One example, if there is a drop of more than 600mm it will confirm certain products are unsuitable.
BS 6180:2011 is important. This is the British Standard relating to barriers in and about buildings. This includes barrier design, height and structural performance.
So it is important to includes,
- The finished floor level
- The level/drop on the outside of the balustrade
- Proposed balustrade height
Remember that the relevant measurement is normally taken from the finished floor level, so future paving, decking or floor finishes should be taken in to consideration before the system is manufactured.
— 05 Look for Uneven Surfaces
Outdoor terraces and patios are rarely perfectly level.
They are often constructed with a slight fall to allow rainwater to drain away from the building. As mentioned earlier in this article, for a long balustrade run, even relatively small fall can create a noticeable difference in height.
Measure levels at several points along the proposed balustrade line.
Also include,
- Uneven paving
- Raised slabs
- Drainage channels
- Coping stones
- Changes between paving and decking
- Steps
- Sloping retaining walls
These details can influence post heights, glass dimensions, base channel installation and the overall appearance of the completed balustrade.
The aim is not simply to make the balustrade fit, it is to make the finished installation look deliberate, level and balanced.
— Before you order
If you are unsure about any measurement, contact the team before ordering. It is always quicker to check first than to wait for a replacement.
— 06 Identify any Obstacles
Take time to look beyond the balustrade itself.
There may be objects or services within the fixing area that affect where posts, channels or fixings can be positioned. Perhaps you have plans for items like an Outdoor Kitchen to be positioned and need to accommodate this in your balustrade position.
Look for items such as:
- Drainage channels
- Downpipes
- Air bricks
- Electrical cables
- Lighting
- Underfloor heating
- Waterproof membranes
- Drainage outlets
- Door thresholds
- Window openings
- Structural movement joints
Particular care should be taken on balconies and roof terraces where penetrating a roof waterproof system incorrectly can create future water ingress problems. Water will always find a way to a weak point – it is imperative to be thorough where risks of water ingress exist.
Doors are another important consideration. Check how doors open and make sure there is enough clearance between the door, balustrade and handrail.
— 07 Consider How the Area will be Used and the Appropriate Balustrade System
Finally, don’t survey purely on dimensions.
Think about how and where the balustrade will be used.
A balustrade protecting the patio of a private house may have different requirements toone for a restaurant, office, school or other area.
BS 6180 specifically includes categories of building use because the loads that a protective barrier may need to withstand depend upon the intended use.
The choice between a post and glass system, frameless glass channel, glass adaptors, stainless steel system or wire rope balustrade will often depend on more than just appearance.
Consider:
- Is the project residential or commercial?
- Who will use the area?
- What is the potential level of pedestrian traffic?
- Is there a significant drop?
- Is an uninterrupted view important?
- Will children regularly use the area?
- Is the location particularly exposed to wind or weather?
- What structure is available for fixing?
- Does the proposed system have suitable testing or engineering evidence for the intended application?
The best balustrade is not simply the one that looks right. It is the system that combines appearance, practicality, structural suitability and appropriate performance for the application.
— A Good Survey Makes the Rest of the Project Easier
Taking a little extra time at the measuring stage can prevent much bigger problems later.
Accurate dimensions are important, but a good balustrade survey goes further. It considers the structure, levels, fixing positions, surrounding building, intended use and relevant standards before the system is specified.
If you are uncertain about any part of your survey, send us your dimensions, sketches and photographs. Our team can help you work through the detail, select an appropriate balustrade solution and identify anything that should be checked before your system is manufactured.
That little bit of care at the beginning can make the journey from idea to installation considerably simpler.

Abbie Lee
Talk to a specialist
Not sure about your measurements?
Our team can talk you through the measuring process for any SWR system.
Related articles
Continue reading the Knowledge Hub.